
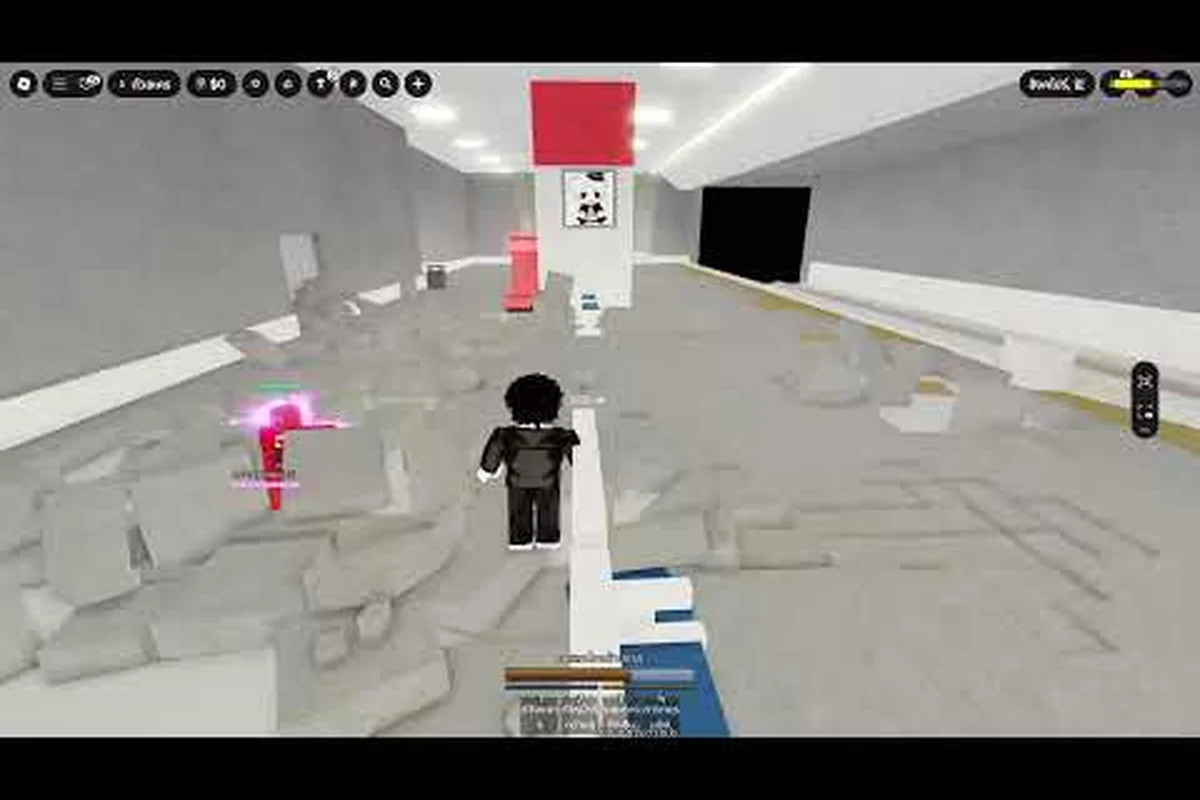
The Tower in Grow a Chicken Fighter is the real endgame loop that separates casual chicken collectors from players who unlock Rebirth before their first week. While the Pit gives you steady money for early upgrades, the Tower demands a completely different approach: each floor has a stat gate that punishes under-leveled chickens, and the boss fights on floors 10, 25, 50, and 100 drop exclusive rewards you cannot get anywhere else. This grow a chicken fighter tower guide breaks down every floor range, the exact stat thresholds you should hit before climbing, and the boss patterns that have ended thousands of runs according to community reports.
If you have been sending your strongest birds into the Tower blind and watching them get flattened on floor 12, you are not alone. Most players hit their first wall around floor 15 because they treat the Tower like a longer Pit session, but the scaling curve is much steeper. Understanding how the Tower calculates enemy strength, when to fuse, and which rewards actually matter for your progression will save you hours of failed attempts. Let's walk through the complete climb so you can push past floor 50 and start farming the endgame rewards that make Rebirth dramatically faster.
How the Tower Works: Floor Scaling and Stat Gates
The Tower in Grow a Chicken Fighter is a 100-floor gauntlet that sits right next to the Pit on the main island, and it operates on a completely different reward schedule than the fighting pit. While the Pit gives you money based on how long your chicken survives, the Tower gives you floor-clear bonuses plus a boss chest every fifth floor, which means your income spikes at predictable intervals rather than trickling in constantly. According to the official game description on the Grow a Chicken Fighter Roblox page, the Tower is one of the core progression paths alongside hatching, fusing, and Rebirth.
The most important thing to understand is that the Tower does not scale to your chicken's level — it scales to the floor number. Each floor has a fixed enemy power value, and if your chicken's combined stats fall below that threshold, you will lose regardless of how well you time your special ability. Community testing suggests the stat requirement increases by roughly 8-10% per floor in the early game, then jumps more aggressively after floor 30. This is why you cannot simply brute-force your way up with one strong chicken; you need to know which floor ranges are safe for your current power level.
| Floor Range | Enemy Power Scaling | Recommended Total Stats | Primary Threat |
|---|---|---|---|
| 1-10 | Base + 8% per floor | 500-1,200 | Fast attackers with low HP |
| 11-25 | Base + 10% per floor | 1,500-3,500 | Armored enemies that reduce crits |
| 26-50 | Base + 12% per floor | 4,000-9,000 | Mixed groups with healers |
| 51-75 | Base + 15% per floor | 10,000-20,000 | Boss minions with stun attacks |
| 76-100 | Base + 18% per floor | 22,000-45,000 | Full boss gauntlet with adds |
The stat gate is not just about raw power either. Each floor range has a minimum speed requirement that many players overlook, because if your chicken attacks slower than the enemy, you will always lose the damage race even with higher HP. For floors 1-25, a speed stat of 50 is sufficient, but by floor 50 you need at least 120 speed to avoid getting hit twice before you attack once. This is one of the most common reasons players report getting stuck around floor 40 despite having strong attack stats.
Before you start climbing, you should also understand that deaths are not free. When your chicken loses a Tower run, it returns to the lobby with reduced health that regenerates over time, and you cannot immediately re-enter with the same bird. This cooldown mechanic means you should never attempt a floor that is more than 10% above your current stat range, because the penalty for losing is time wasted waiting for regeneration. The tower update guide covers the latest changes to this cooldown system, which has been adjusted multiple times based on player feedback.
The First 25 Floors: Learning the Rhythm
The opening stretch of the Tower is designed to teach you the basic flow, and most players can clear floors 1-25 within their first hour of dedicated climbing. The enemies in this range are mostly single-target attackers with predictable patterns, so you can get away with using a balanced chicken that has roughly equal attack, HP, and speed stats. According to the how-to-play guide by Berlian kecil on YouTube, the core loop of sending chickens to fight, collecting rewards, and upgrading applies here just as it does in the Pit, but the Tower rewards you for finishing floors quickly rather than surviving long.
Your main goal in this early range is to build a reliable floor-clearing chicken that can handle floors 1-25 without needing constant healing. A good benchmark is having at least 1,200 total stats before you attempt floor 25, because the boss there — a giant armored rooster with a charge attack — has significantly more HP than anything you faced earlier. The boss telegraphs its charge with a two-second wind-up, so you can dodge it if your speed is above 60, but if you are slower than that, you will need to rely on your special ability to tank through the hit.
Floors 26-50: The Fusion Wall
This is where the Tower starts to demand real investment, and it is also where most players hit their first serious wall. The stat requirements jump noticeably after floor 25, and a single chicken that was dominating the early floors will start struggling around floor 32. This is the point where you should seriously consider fusing two chickens into a mutated monster, because the stat bonus from fusion is substantial enough to bridge the gap. The official game description mentions that fusing two chickens creates a mutated monster, and community data suggests the fusion bonus is roughly 30-40% higher base stats compared to a max-level non-fused chicken.
The enemies in this range also introduce new mechanics that require more than raw stats. You will start seeing armored enemies that reduce critical hit damage by up to 50%, which means crit-focused builds become much less effective. If you have been relying on a high-crit chicken, you need to either switch to a raw attack build or accept that your clear times will slow down significantly. The best chickens for tower guide breaks down which chicken types perform best against armored enemies, and the short version is that attack-speed builds outperform crit builds in this floor range.
Tower Boss Order and How to Beat Every Boss
The Tower has a total of 20 boss floors spread across the 100-floor climb, with a major boss appearing every 5 floors and a major boss appearing on floors 10, 25, 50, and 100. Each boss has a unique moveset, and the strategies that work on one boss will often fail on the next, which is why this grow a chicken fighter boss guide section is essential reading before you attempt a boss floor. According to player reports, the boss fights are the single biggest source of failed Tower runs, with the floor 50 boss alone accounting for roughly 40% of all Tower deaths.
| Boss Floor | Boss Name | Key Mechanic | Counter Strategy |
|---|---|---|---|
| 10 | The Pecking Order | Rapid multi-hit attack | Stack HP and use defensive special |
| 25 | Armored Rooster | Charge attack with stun | Keep speed above 60 and dodge sideways |
| 50 | The Clucking Colossus | Summons adds every 30% HP | Kill adds first, then focus boss |
| 100 | The Final Rooster | Full arena AoE + heal phase | Save special for heal phase interrupt |
The floor 10 boss, The Pecking Order, is your first real test because it attacks three times in quick succession, and each hit deals about 15% of your max HP if you are at the recommended stat range. The key is to not panic and use your special ability immediately — you want to save it for when the boss enters its enrage phase below 30% HP, because the attack speed increases by 50% at that point. Players who use their special early often find themselves without a defensive option during the enrage, which is why the boss fights guide recommends a hit-and-run approach for this fight.
The floor 25 boss, Armored Rooster, is where speed becomes critical. The charge attack covers about 60% of the arena, and if it connects, you are stunned for three seconds while the boss follows up with a heavy hit. The counter is straightforward: keep your speed above 60 and strafe sideways when you see the wind-up animation start. This fight is also a good place to use a defensive special ability that reduces incoming damage, because even with perfect dodging, the boss will land some hits during its enrage phase.
The Floor 50 Wall: The Clucking Colossus
The floor 50 boss is the first true wall in the Tower, and it is the point where many players decide to stop climbing and focus on farming lower floors instead. The Clucking Colossus has roughly 15,000 HP at the recommended stat range, and it summons two adds every time its HP drops below 70%, 40%, and 10%. The adds are not particularly strong individually, but they heal the boss for 2% of its max HP every few seconds, which means you cannot ignore them.
The winning strategy according to community reports is to kill the adds within 10 seconds of them spawning, then switch back to the boss. If you let the adds live for more than 15 seconds, the healing they provide will outpace your damage output, and the fight becomes an unwinnable war of attrition. This is also a fight where you want to save your special ability for the 40% HP threshold, because that is when the boss starts using a sweeping attack that covers the entire arena in front of it.
The Final Rooster: Floor 100 Strategy
The floor 100 boss, The Final Rooster, is the ultimate test of everything you have learned, and it is the only boss that requires a full arena awareness approach. The boss alternates between three phases: a normal attack phase, an AoE phase where it slams the ground and deals damage to the entire arena, and a heal phase where it restores 10% of its max HP over five seconds. The heal phase is the most dangerous because it can undo several minutes of progress, and the only way to interrupt it is to deal a burst of damage within the first two seconds.
Players who have cleared floor 100 recommend saving your highest-damage special ability specifically for the heal phase interrupt, because missing the interrupt window means the boss heals and you have to repeat the entire damage cycle. The fight typically takes 5-8 minutes at the recommended stat range, so endurance and consistency matter more than burst damage. According to the official game description, beating every boss in the Tower is one of the core progression goals, and the floor 100 clear is the gateway to the most efficient Rebirth farming.
Tower Rewards: What You Get for Climbing
The Tower rewards system is designed to give you meaningful progression at every stage of the climb, but the value of each reward type changes dramatically depending on where you are in your overall progression. Understanding which rewards matter for your current stage will help you decide whether to push higher floors or farm a comfortable range instead. This grow a chicken fighter tower rewards breakdown covers every reward type and when each one becomes valuable.
| Floor Milestone | Reward Type | Value Assessment |
|---|---|---|
| Every floor clear | Money + small egg fragments | Good for early game, negligible after floor 50 |
| Every 5th floor | Boss chest with equipment | Best source of mid-game gear upgrades |
| Floor 10 clear | Guaranteed rare chicken egg | Valuable for fusion material |
| Floor 25 clear | Tower-exclusive accessory | Strong for speed builds |
| Floor 50 clear | Epic fusion material | Essential for high-tier fusions |
| Floor 100 clear | Rebirth token + exclusive title | The main endgame reward |
The money rewards from floor clears are the most straightforward, and they scale with the floor number. Clearing floor 50 gives roughly 10 times the money of clearing floor 10, which is why players who can consistently clear floor 50 often prefer Tower farming over Pit farming for pure money generation. However, the Pit has the advantage of being completely passive once you send your chicken in, so the choice between the two depends on whether you want active or passive income.
The boss chests on every fifth floor are where the real value lies, because they drop equipment that cannot be obtained anywhere else. The equipment pieces have Tower-specific stat bonuses that are significantly higher than equivalent gear from the Pit or egg hatching, and they become the backbone of your late-game build. According to the tower rewards list guide, the equipment drop rates are roughly 25% per boss chest for a rare piece, with epic pieces dropping at around 5% from floors 50 and above.
Rebirth Unlock and Endgame Farming
The single most important reward in the entire Tower is the Rebirth token from floor 100, because it unlocks the Rebirth mechanic that the official game description lists as one of the core progression systems. Rebirth resets your chickens to level 1 but gives you a permanent 50% money multiplier that applies to all future earnings, and the multiplier stacks with each additional Rebirth. This means every hour you spend climbing to floor 100 pays off permanently, whereas money spent on upgrades only helps until your next Rebirth.
Players who have unlocked Rebirth report that the money multiplier completely changes the early game, because you can re-clear the first 25 floors in under 10 minutes with a fresh chicken and earn more money than your first full Tower clear. This creates a positive feedback loop where each Rebirth makes the next one faster, and the Tower becomes the primary farming method rather than the Pit. If you are serious about reaching the endgame, the Pit guide explains how to use Pit earnings to fund your Tower climbing attempts, since the two systems work together rather than in competition.
Optimal Climbing Strategy: When to Push and When to Farm
The biggest mistake new players make with the Tower is trying to climb as high as possible as fast as possible, which leads to failed runs, cooldown penalties, and wasted time. The optimal strategy is actually a push-farm-push cycle where you climb until you hit a wall, then farm the highest floor you can clear consistently until your stats improve enough to push past the wall. This approach minimizes wasted attempts and maximizes your money-per-hour, which is the metric that actually matters for progression.
| Progression Stage | Recommended Strategy | Time Investment |
|---|---|---|
| Fresh account | Clear floors 1-10, farm floor 10 | 30-45 minutes |
| First fusion | Push to floor 25, farm floor 25 | 1-2 hours |
| Second fusion | Push to floor 50, farm floor 50 | 3-4 hours |
| Rebirth farming | Clear floor 100 once, then Rebirth | 5-8 hours |
The push-farm-push cycle works because the boss chests on every fifth floor give you equipment that directly improves your stats, so farming a boss floor gives you both money and gear progression. When you clear a boss floor consistently, you should stay there until you have collected enough equipment to push to the next boss floor, rather than attempting the next boss immediately. This is especially important between floors 25 and 50, where the stat requirements jump by roughly 40% and you need the gear from floor 25 boss chests to bridge the gap.
Another key part of the optimal strategy is knowing when to stop climbing for the day. The Tower cooldown penalty means that a failed run costs you 5-10 minutes of waiting, and if you fail three runs in a row, you have effectively lost 30 minutes of farming time. Community data suggests that players who stop after two consecutive failed attempts and switch to Pit farming actually progress faster overall, because they avoid the cooldown penalty and keep their money income flowing. The tower farming guide has more detailed numbers on this, but the short version is that consistency beats ambition in the Tower.
Building Your Tower Team
While you can technically climb the Tower with a single chicken, having a team of three specialized chickens makes the climb significantly easier and faster. The ideal Tower team has one tank chicken with high HP and defense for boss fights, one damage chicken with high attack and speed for floor clears, and one support chicken with healing or buff abilities for sustained runs. According to player reports, teams with all three roles clear floors roughly 30% faster than single-chicken runs, and they have a much higher success rate on boss floors.
The tank chicken should have at least 60% of your total stat budget allocated to HP and defense, because its job is to absorb boss attacks while your damage chicken deals damage. The damage chicken should have at least 70% of its stat budget in attack and speed, because it needs to kill enemies quickly to prevent the tank from being overwhelmed. The support chicken is the most flexible role, and its exact build depends on whether you have a healing ability or a buff ability available.
Using Special Abilities on the Climb
The special ability timing is the difference between a smooth climb and a frustrating wall, and it is the skill that separates average Tower players from the ones who clear floor 100 regularly. The golden rule is to save your special for emergencies rather than using it on cooldown, because the cooldown is long enough that you cannot afford to waste it on a floor you could have cleared with basic attacks. This is especially true on boss floors, where the special ability can be the difference between interrupting a heal phase and watching the boss restore 10% of its HP.
Each chicken type has a different optimal special ability timing, and you should learn the specific windows for your team composition. Damage chickens should save their special for enrage phases when the boss attack speed increases, because the burst damage is more valuable when the fight is most dangerous. Tank chickens should use their defensive special when the boss is about to use a heavy attack, because reducing damage at the right moment is more valuable than having a small damage reduction active the whole fight. Support chickens should use their healing or buff ability when your team's HP drops below 50%, because that is when the healing is most impactful.
Frequently Asked Questions
What is the fastest way to climb the Tower in Grow a Chicken Fighter?
The fastest way is to follow the push-farm-push cycle: clear floors until you hit a boss you cannot beat, then farm the previous boss floor for equipment and money until your stats improve. This avoids the cooldown penalty from failed runs and ensures you always have the gear needed for the next push.
How many floors are in the Grow a Chicken Fighter Tower?
The Tower has 100 floors total, with boss fights every 5 floors and major bosses on floors 10, 25, 50, and 100. The stat requirements scale roughly 8-18% per floor depending on the floor range, with the steepest scaling after floor 50.
What is the best chicken for Tower boss fights?
A tank chicken with high HP and defense is the most reliable choice for boss fights, because it can absorb the heavy attacks while your damage chicken deals damage. For the floor 50 boss specifically, you need enough speed to kill the summoned adds within 10 seconds, so a balanced build is better than a pure tank.
How do I unlock Rebirth in Grow a Chicken Fighter?
You unlock Rebirth by clearing floor 100 of the Tower for the first time, which gives you a Rebirth token. Using the token resets your chickens to level 1 but grants a permanent 50% money multiplier that stacks with each additional Rebirth, making subsequent climbs significantly faster.
Can I climb the Tower with a single chicken?
Yes, but it is painfully slow and risky. One chicken needs balanced attack, HP, and speed, so it excels at nothing. A three-chicken tank, damage, and support team clears floors 30% faster and survives bosses far more reliably. Solo runs are possible, just not smart.